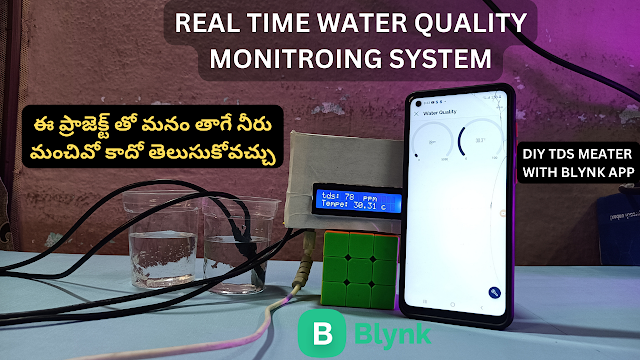
The DHT11 sensor, LDR (light dependent resistor), and LED can all be used in combination with an ESP8266 microcontroller and the Blynk IoT platform to create a variety of interactive projects.
The DHT11 sensor is a basic, low-cost digital temperature and humidity sensor. It can measure temperature from 0 to 50°C with an accuracy of ±2°C and humidity from 20 to 90% with an accuracy of ±5%. The sensor communicates with the ESP8266 via a single wire digital interface, which makes it easy to interface with the microcontroller.
The LDR, or light dependent resistor, is a passive component that changes resistance based on the amount of light it receives. It can be used to measure light intensity and create light-sensitive projects. The resistance of an LDR decreases as the light intensity increases. To measure the light intensity, an ADC (analog to digital converter) is used to convert the analog voltage to digital form.
The LED, or light-emitting diode, is a small, low-power semiconductor device that emits light when a current is passed through it. It can be used for a variety of purposes, such as indicating status or creating visual effects. The LED can be controlled by the ESP8266 via a digital output pin, which can be set to high or low to turn the LED on or off.
The Blynk IoT platform allows you to easily create and control IoT projects using a variety of different devices, including the ESP8266. It provides a simple drag-and-drop interface for creating user interfaces and connecting them to your hardware. You can use Blynk to display data from the DHT11, control the LED using the LDR, and even send notifications based on the temperature and humidity readings.
Materials needed:
QURTAZ COMPONENTS:
ESP8266 development board (e.g. NodeMCU): BUY NOW
DHT11 : BUYNOW
Jumper wires: BUY NOW
Breadboard : BUY NOW
AMAZON:
ESP8266 development board (e.g. NodeMCU): BUY NOW
DHT11 : BUYNOW
Jumper wires: BUY NOW
Breadboard : BUY NOW
In this project, the ESP8266 would read the data from the DHT11 sensor, LDR, and then sends the data to the Blynk app, where you can monitor the temperature, humidity and the light intensity. You can also use the app to control the LED.
To create this project, you would need to have the ESP8266 board, DHT11 sensor, LDR, LED and Blynk app installed on your smartphone. You would also need to have the necessary software and libraries installed on your computer to program the ESP8266. Once everything is set up, you can start coding the ESP8266 to read the data from the DHT11 and LDR and sending it to the Blynk app. You can also program the ESP8266 to control the LED based on the data received from the app.
Overall, using the DHT11, LDR, LED, ESP8266, and Blynk IoT platform, you can create a variety of interactive projects that can measure temperature, humidity, light intensity and control the LED. This is just one example of the many possibilities that IoT can offer.
COMPONENTS WITH LINKS:
- ESP 8266 BUY NOW
- DHT11 SENSOR BUY NOW
- LED BUY NOW
- BREAD BOARD BUY NOW
- WIRES BUY NOW
- LDR BUY NOW
CIRCUIT :
CODE :
#define BLYNK_TEMPLATE_ID "TMPLXewK3xVc"
#define BLYNK_DEVICE_NAME "MY PROJECT"
#define BLYNK_AUTH_TOKEN "hQjLhPO3FC_pFjAmwJb8RlAf9wPN5Dxd"
#define BLYNK_PRINT Serial
#include <ESP8266WiFi.h>
#include <BlynkSimpleEsp8266.h>
#include <DHT.h>
#define ldr A0
#define my_led 12
char auth[] = BLYNK_AUTH_TOKEN;
char ssid[] = "mewt"; // type your wifi name
char pass[] = "Babu@460"; // type your wifi password
#define DHTPIN 4 // Mention the digital pin where you connected
#define DHTTYPE DHT11 // DHT 11
DHT dht(DHTPIN, DHTTYPE);
BlynkTimer timer;
BLYNK_WRITE(V0){
int led_value = param.asInt();
digitalWrite(my_led,led_value);
Serial.println(led_value);
}
void sendSensor(){
float humidity = dht.readHumidity();
float temperature = dht.readTemperature(); // or dht.readTemperature(true) for Fahrenheit
Blynk.virtualWrite(V1, humidity);
Blynk.virtualWrite(V2, temperature);
Serial.print("Temperature : ");
Serial.print(temperature);
Serial.print(" Humidity : ");
Serial.println(humidity);
}
void ldrdata(){
int value = analogRead(ldr);
value = map(value, 0, 1024, 0, 100);
Blynk.virtualWrite(V3, value);
Serial.print("Light valur : ");
Serial.println(value);
}
void setup(){
Serial.begin(115200);
Blynk.begin(auth, ssid, pass);
dht.begin();
pinMode(my_led,OUTPUT);
pinMode(ldr,INPUT);
timer.setInterval(2500L, sendSensor);
timer.setInterval(2500L, ldrdata);
}
void loop(){
Blynk.run();
timer.run();
}


0 Comments