Introduction:
Combining the realms of electronics and convenience, we're delving into the exciting world of building an IR remote-controlled calculator using the ESP8266 microcontroller, an IR receiver, an I2C LCD, and an IR remote. In this comprehensive guide, we'll walk you through the process of creating a functional calculator that can be controlled wirelessly using an IR remote. By the end, you'll have a unique calculator that showcases both your programming skills and your understanding of hardware integration.
Prerequisites:
Before embarking on this hands-on project, gather the following components:
ESP8266 Board: A WiFi-enabled microcontroller.
IR Receiver: To receive signals from the IR remote.
I2C LCD Display: For displaying calculator input and results.
IR Remote: To send commands to the calculator.
Jumper Wires: For connecting the components.
Arduino IDE: The platform for programming and code upload.
Project Overview:
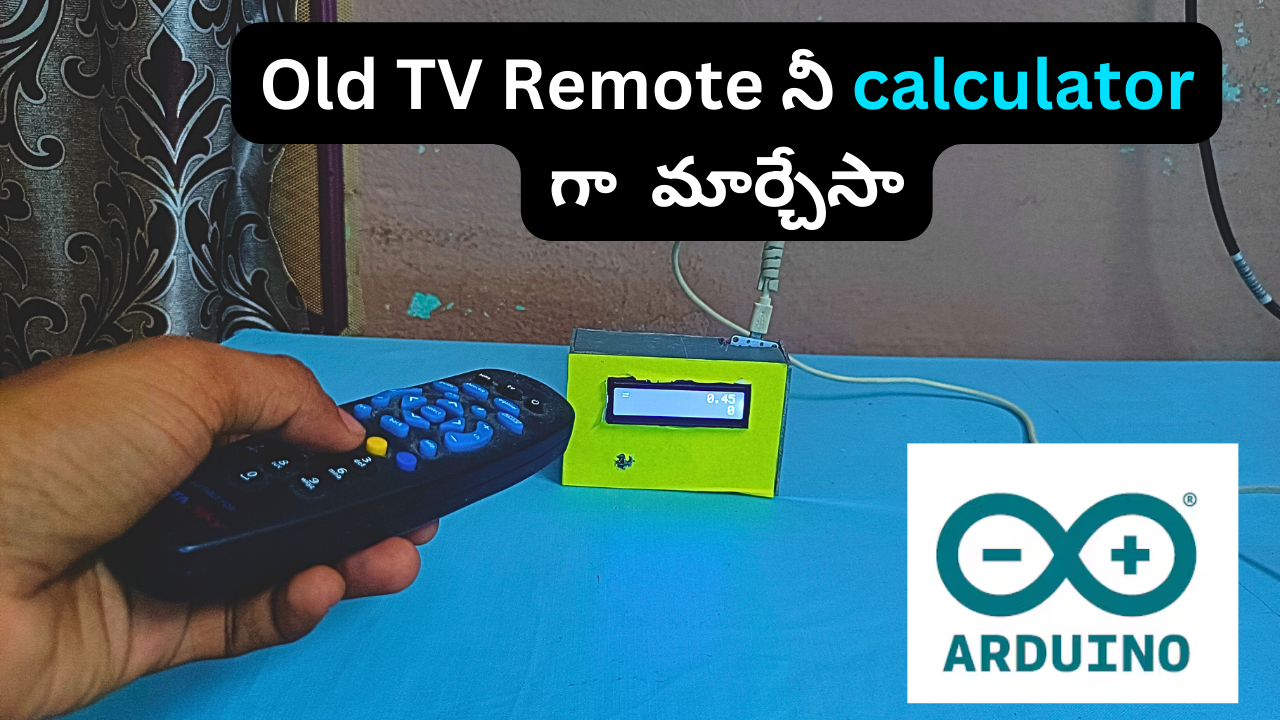
The objective of this project is to build an IR remote-controlled calculator using the ESP8266. The IR receiver will capture commands from the IR remote, which will be interpreted by the microcontroller to perform calculations. The results will be displayed on an I2C LCD, creating a functional and interactive calculator.
Circuit:
Code:
#include <IRremote.h>
#include <math.h>
#include <LiquidCrystal_I2C.h>
LiquidCrystal_I2C lcd(0x27, 16, 2);
// Digital Pin Connection to your IR Receiver
IRrecv irrecv(2);
decode_results results;
String
number1 = "0",
number2 = "0",
optr = "=",
sixteenString = " ";
void setup() {
Serial.begin(9600);
lcd.init();
lcd.backlight();
lcd.begin(16, 2);
lcd.clear();
irrecv.enableIRIn();
}
void acceptInput(int character) {
Serial.println(character);
switch(character) {
case 12582913:
concatNumbers("1");
break;
case 12582914:
concatNumbers("2");
break;
case 12582915:
concatNumbers("3");
break;
case 12582916:
concatNumbers("4");
break;
case 12582917:
concatNumbers("5");
break;
case 12582918:
concatNumbers("6");
break;
case 12582919:
concatNumbers("7");
break;
case 12582920:
concatNumbers("8");
break;
case 12582921:
concatNumbers("9");
break;
case 12582912:
concatNumbers("0");
break;
case 12582972:
concatNumbers(".");
break;
case 12583043:
number1 = "0";
number2 = "0";
optr = "=";
break;
case 12583021:
function("+");
break;
case 12583022:
function("-");
break;
case 12583023:
function("/");
break;
case 12583024:
function("x");
break;
case 12583004:
if(optr != "=")
calculate("=");
break;
case 12583041:
backSpace();
break;
default:
Serial.println("Invalid Input");
}
}
void loop() {
if (irrecv.decode(&results)) {
unsigned int result = results.value;
String val = String(result);
acceptInput(val.toInt());
irrecv.resume();
}
lcd.setCursor(0,0);
lcd.print(optr + " " + sixteenString.substring(number1.length() + 3) + number1);
lcd.setCursor(0,1);
lcd.print(sixteenString.substring(number2.length()) + number2);
}
void calculate(String op) {
double no1 = number1.toDouble();
double no2 = number2.toDouble();
double calcVal = 0.0;
if(optr == "+")
calcVal = (no1 + no2);
else if(optr == "-")
calcVal = (no1 - no2);
else if(optr == "x")
calcVal = (no1 * no2);
else if(optr == "/")
calcVal = (no1 / no2);
number1 = toString(calcVal);
number2 = "0";
optr = op;
}
String toString(double num) {
return String(num);
}
void function(String e) {
if(number1 != "0" && number2 != "0") {
calculate(e);
}
else if(number1 == "0") {
number1 = number2;
number2 = "0";
}
optr = e;
}
void concatNumbers(String num) {
if(optr == "=")
number1 = "0";
if(num != "."){
if(number2.length() == 1 && number2 == "0")
number2 = num;
else
number2 += num;
}
else {
if(number2.charAt(number2.length()-1) != '.' && number2.indexOf('.') == -1)
number2 += num;
}
}
void backSpace() {
number2 = number2.substring(0, number2.length() - 1);
if(number2 == "")
number2 = "0";
}
Download code
Conclusion:
With the ESP8266, IR receiver, I2C LCD display, and IR remote at your disposal, you've successfully constructed an IR remote-controlled calculator. As you send commands through the IR remote and witness the calculator's responses on the LCD, you're experiencing the fusion of electronics and convenience. This project not only enriches your technical skills but also exemplifies the limitless possibilities of DIY electronics. So, gather your components, follow the steps outlined in this guide, and embark on the journey of creating your very own IR remote-controlled calculator that combines function and fun in a single device.


0 Comments